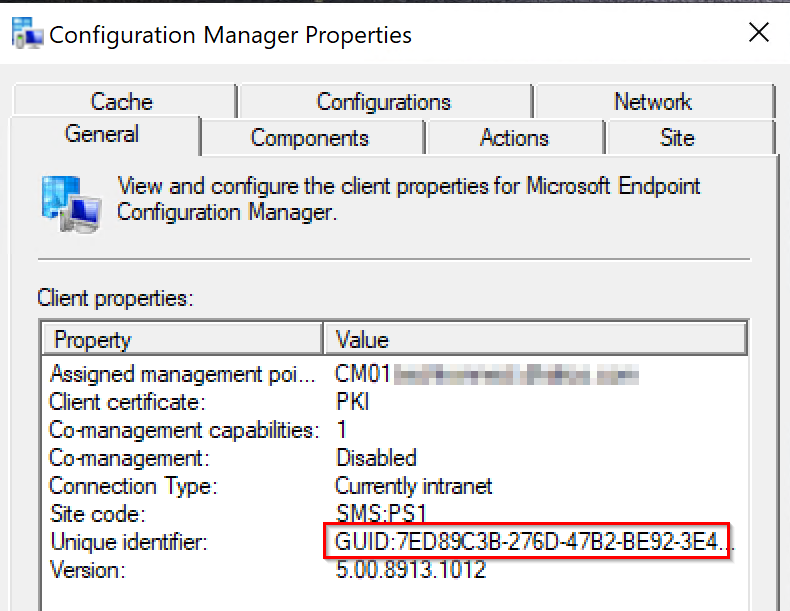
The installation of the ConfigMgr client on workstations and servers is pretty straight forward, and can be done manually, with Client Push, and Software Update Based client installation to name a few. However, it is not as simple when dealing with Windows VDI systems, where extra steps need to be taken to avoid duplicate ConfigMgr client GUIDs and certificates on cloned VDI systems. Below are the steps to follow.
On the master or template system:
- Install the ConfigMgr client. Ensure it is properly functioning and has all the necessary components and actions.
- Stop the SMS Host Service. This can be done by launching the Command Prompt (CMD) as Administrator and running the following command:
net stop ccmexec - Delete the SMSCFG.ini file from the Windows folder location. In Administrator CMD, run the following command:
del %WINDIR%\SMSCFG.ini - Delete the SMS Certificates. To do this, launch PowerShell as Administrator and run the following command:
Remove-Item -Path HKLM:\Software\Microsoft\SystemCertificates\SMS\Certificates\* -Force - Remove the Inventory Action ID 1 in WMI. You can run the following command:
wmic /namespace:\root\ccm\invagt path inventoryActionStatus where InventoryActionID=”{00000000-0000-0000-0000-000000000001}” DELETE /NOINTERACTIVE - Once the above steps have been completed, shutdown the master template, capture a snapshot, and provision the VDI systems. At this point, each VDI system will generate a unique ConfigMgr GUID and will function as expected.
For step number 5, this can be achieved by using the wbemtest tool with the following steps:
- Launch wbemtest as Administrator
- Click Connect

- Change the Namespace field as root\ccm\invagt, and click Connect

- Click on Enum Classes

- Select Recursive and click Ok

- Scroll down and locate InventoryActionStatus, and double click

- Click on the Instances button

- Select the Inventory GUID and click Delete
