
At some point or another we have all faced the dilemma of missing important files such as photos, videos, documents, and even installers to name a few, which were deleted from our systems by mistake or due to various other reasons. “Oops, the file I need is not on my backup drives. I remember deleting it from my computer and emptying the trash bin. Now what do I do?” Well, fret not, we can solve the problem with some 3rd party software which are designed to recover deleted files thus saving the day and mindset!
One such solution is the Windows Data Recovery Professional tool by Stellar Phoenix. If you’re looking to recover your lost or deleted files, folders, documents, photos, videos, and other files, this software does the trick. These are some key features of this product as listed on their website:
- Recovers data, documents, photos, videos and more
- Recovers files from hard drive, CD/DVD, SD cards, and USB drives
- Recovers lost or inaccessible hard drive partitions
- Create image of entire partition for data recovery
- Ability to search for lost data in specific folders and recover data
Windows Data Recovery software which I’ll refer to as WDR is quite simple to install and more importantly easy and straightforward to use. The installer file is less than 16MB in size and the installation steps are just a few clicks and you’re done. WDR has two scan mechanisms, Quick Scan and Deep Scan, and in my testing I found the scan for missing files with the Quick Scan method was adequately fast and the results were what I expected. Deep Scan takes a little longer but does a thorough job in recovering all files and folders including raw data, and this would be a good option to use if you don’t find what you’re looking for with the Quick Scan.
Here are some screen captures to highlight how the product works which were captured during my testing. Please note that I used the Professional version which retails at $99, however Stellar Phoenix does provide a free version which has some limitations, such as you can recover up to 1GB of data for free and the file sizes must be less than 25MB. The free option is a good way to try the software and to recover some files when you absolutely need to do so.
When WDR is launched, you are provided with some options as to what you would like to recover. You can select the “All Data” option to choose everything or be selective, then click the Next button.
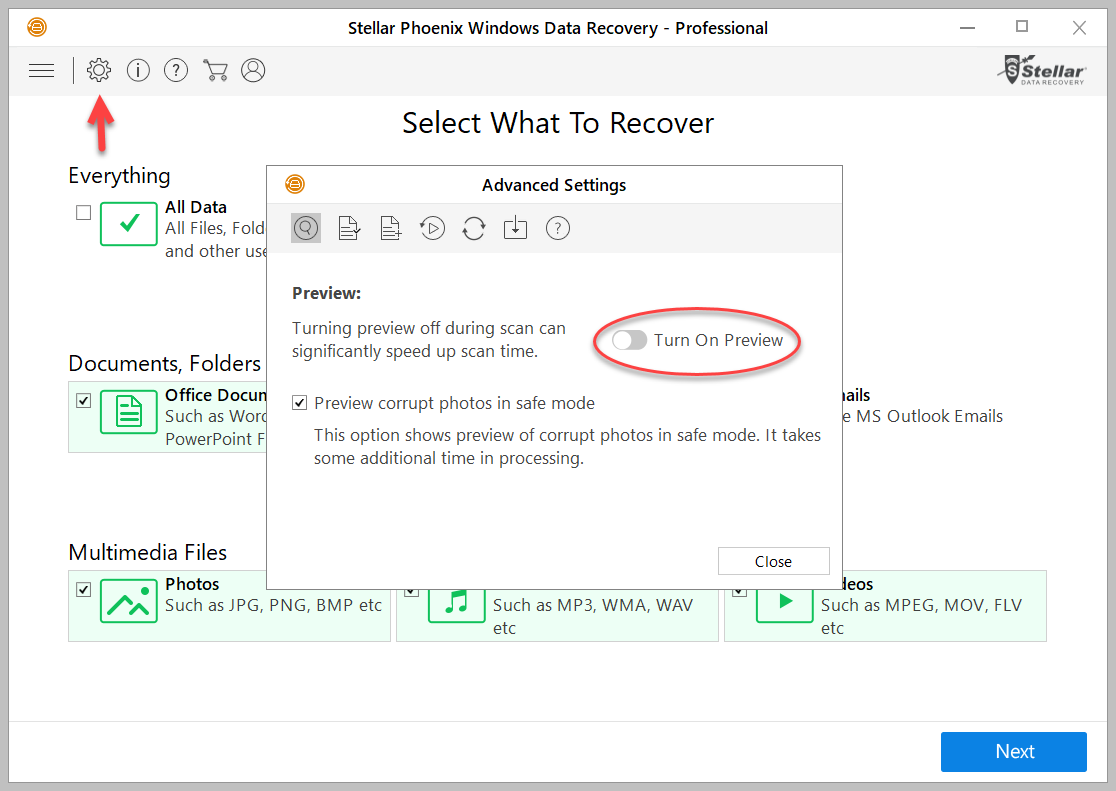
If you would like to preview files during the scan, you can enable this feature by clicking the cogwheel on the top left corner of the window which will pop-up an Advanced Settings menu with the option to do so. Keep in mind that turning on preview mode can increase the scan time. Check out the other options in Advanced Settings such as File List to target specific file types to speed up scanning and recovery.
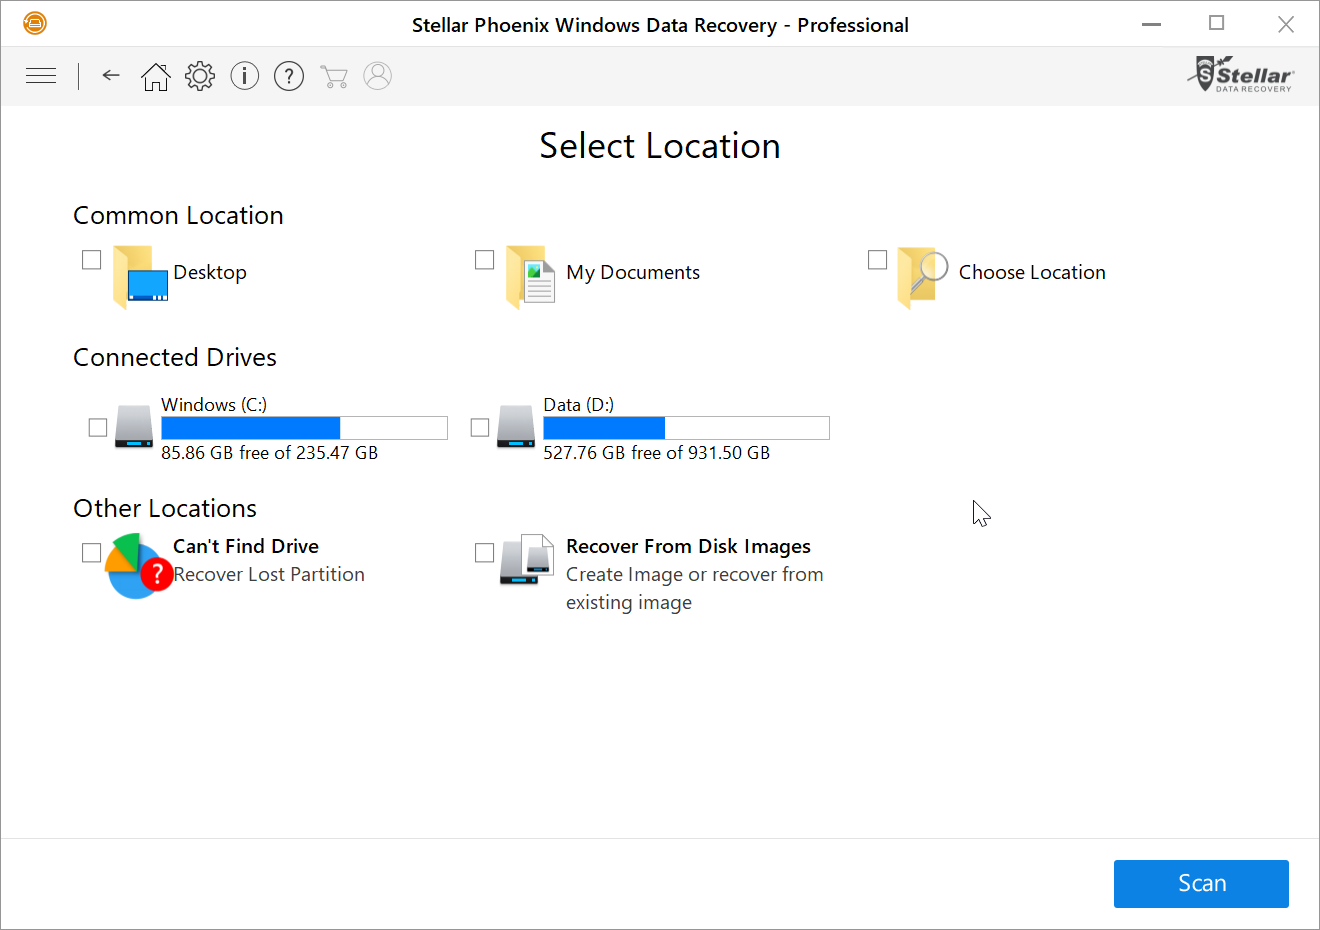
Select the location of the recovery desired.
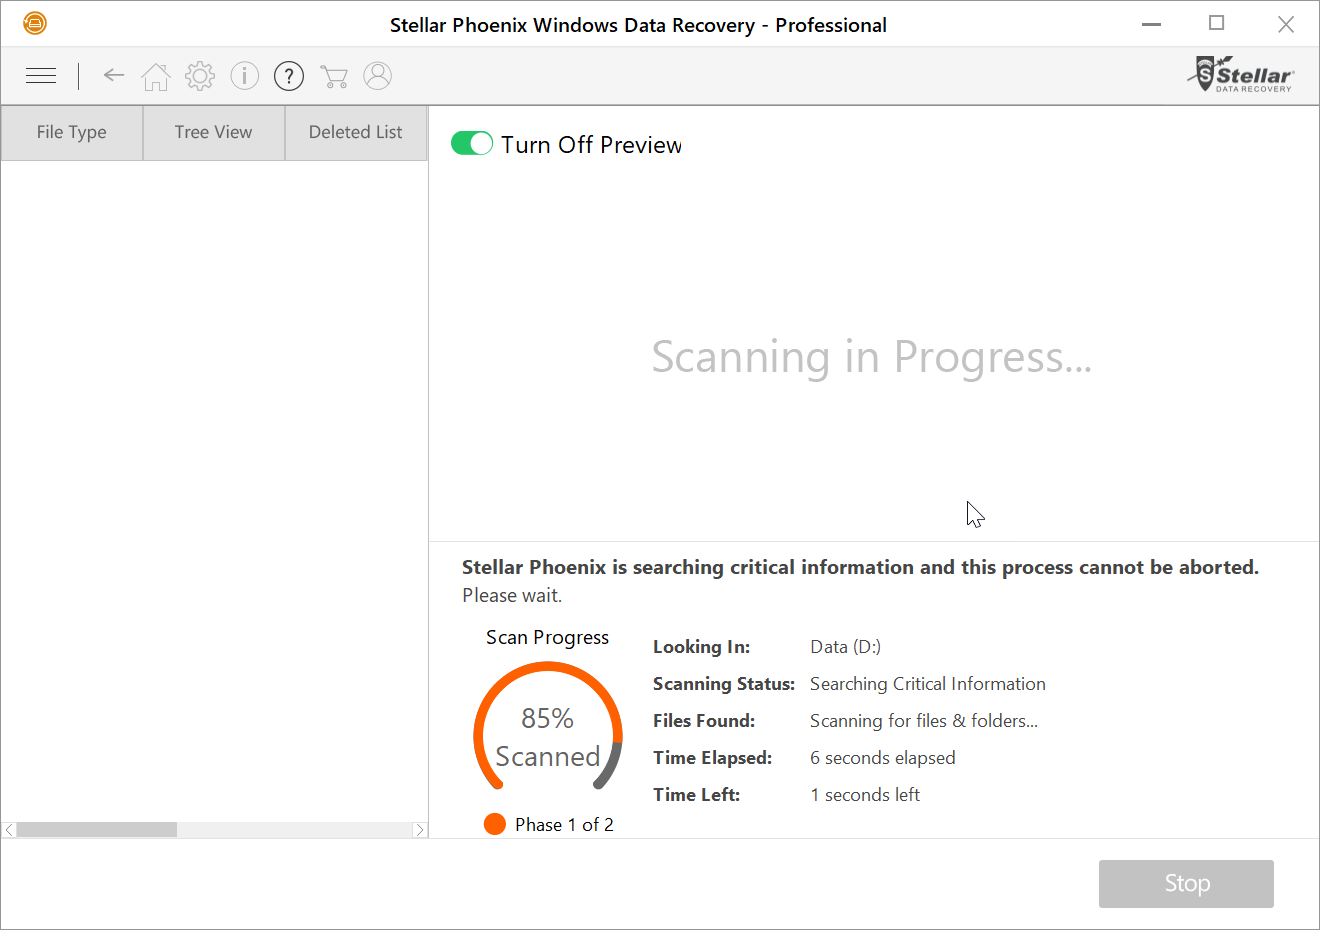
Scanning in progress status.
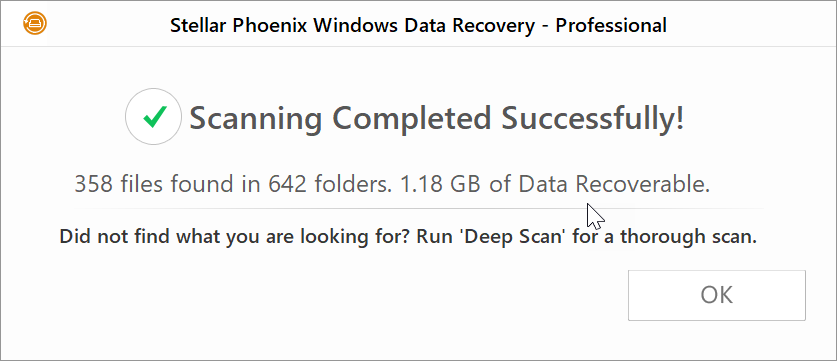
Results of how much data was recovered with the Quick Scan.
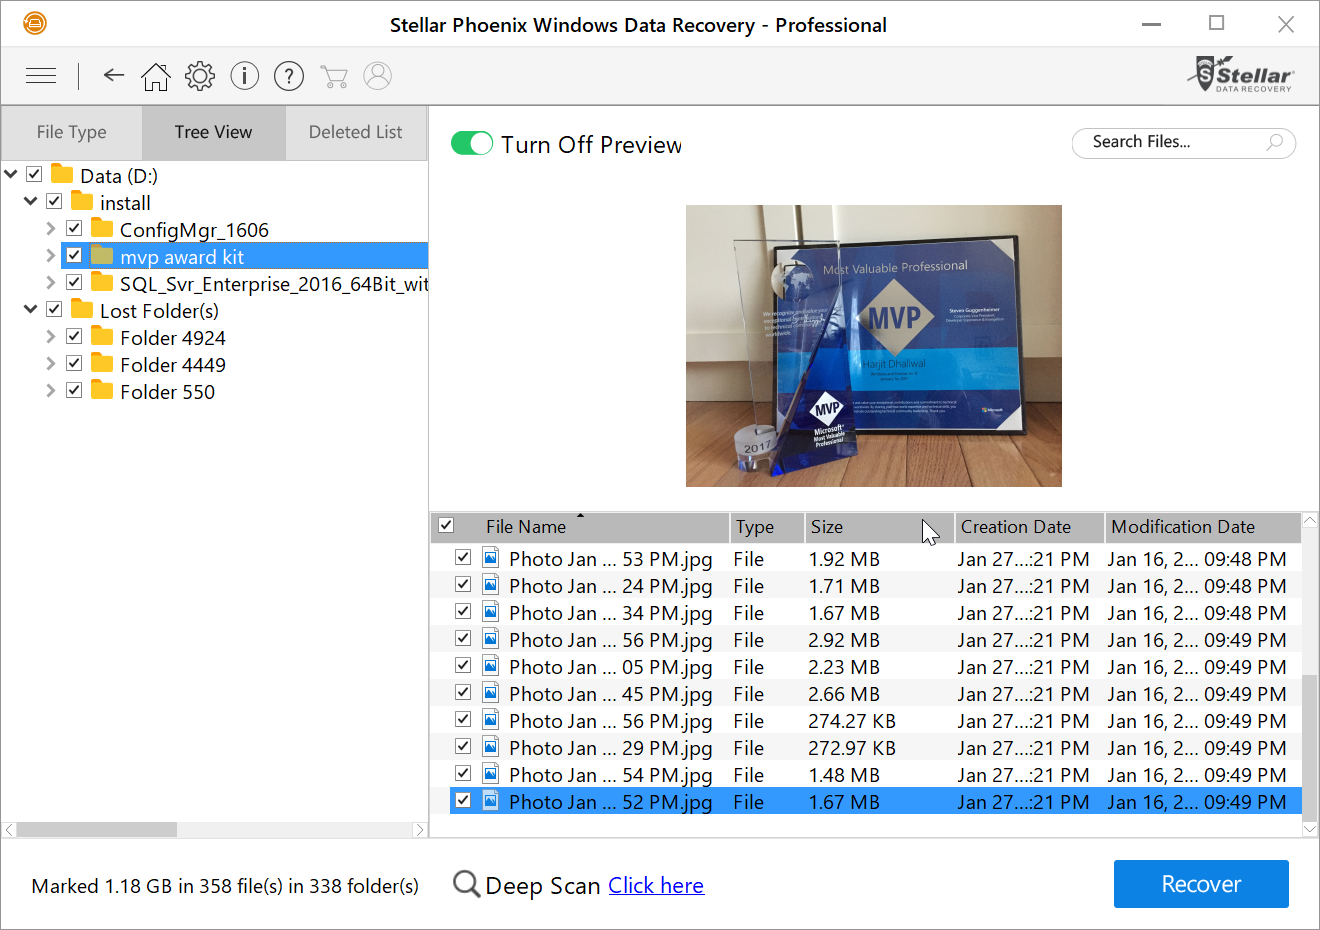
The recovered data as listed in Tree View with files preview turned on.

The recovered data as listed in File Type view with files preview turned on. Select the files or folders desired for recovery and click on the Recover button. If the Quick Scan did not locate what you were looking for, you have the option to run a Deep Scan as seen above.
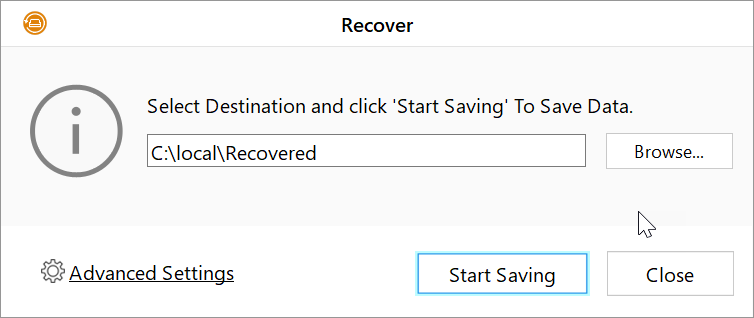
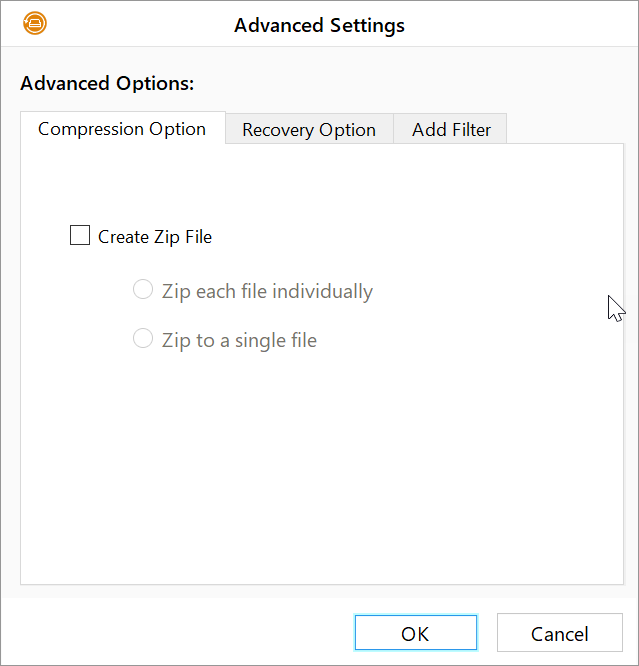
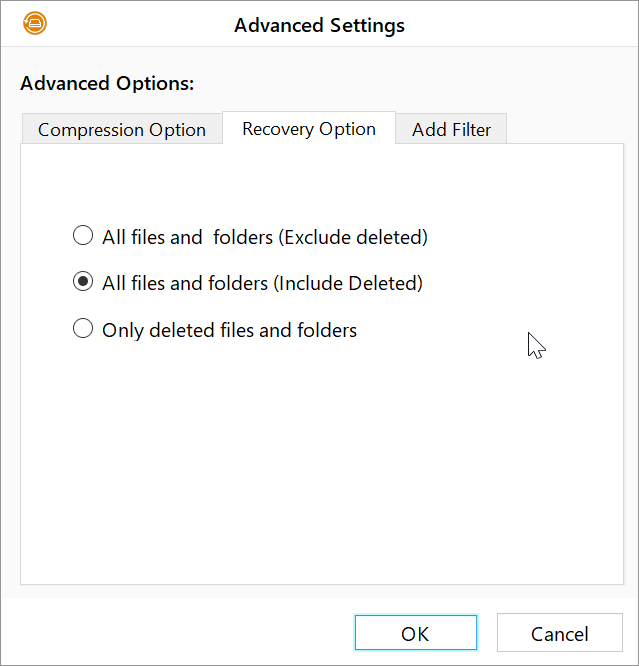
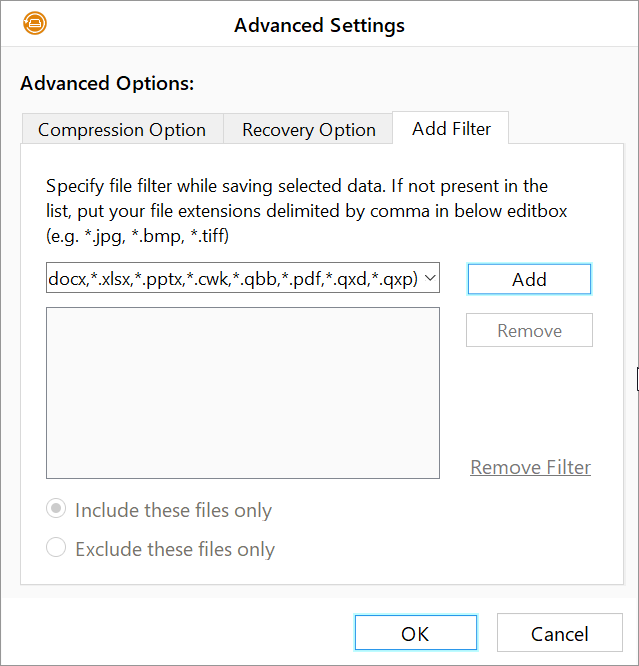
Select a location where you would like the recovered data saved to. Clicking on the Advanced Settings link provides some additional options such as compression option, recovery option, and file filter option as seen in the images below:

For testing purposes, I deleted a folder called “mvp award kit” which included several files which was located in D:\install\ path. I selected a file for recovery as seen above and selected the path C:\local\Recovered as the destination for the saved data. WDR adds a folder named “#Root” along with the original folder names where the file was previously located, thus preserving it’s file structure.
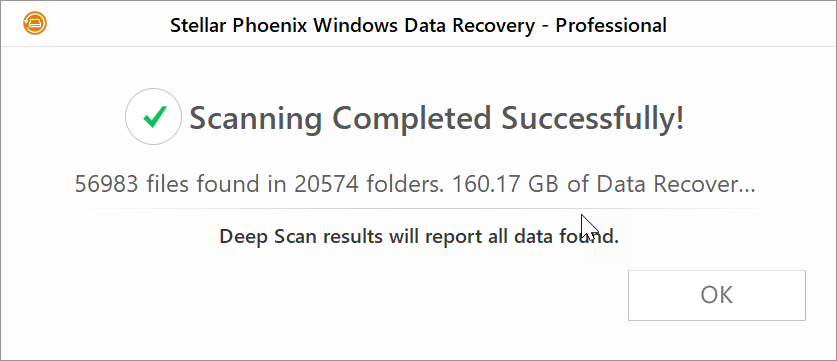
Results of how much data was recovered with the Deep Scan.
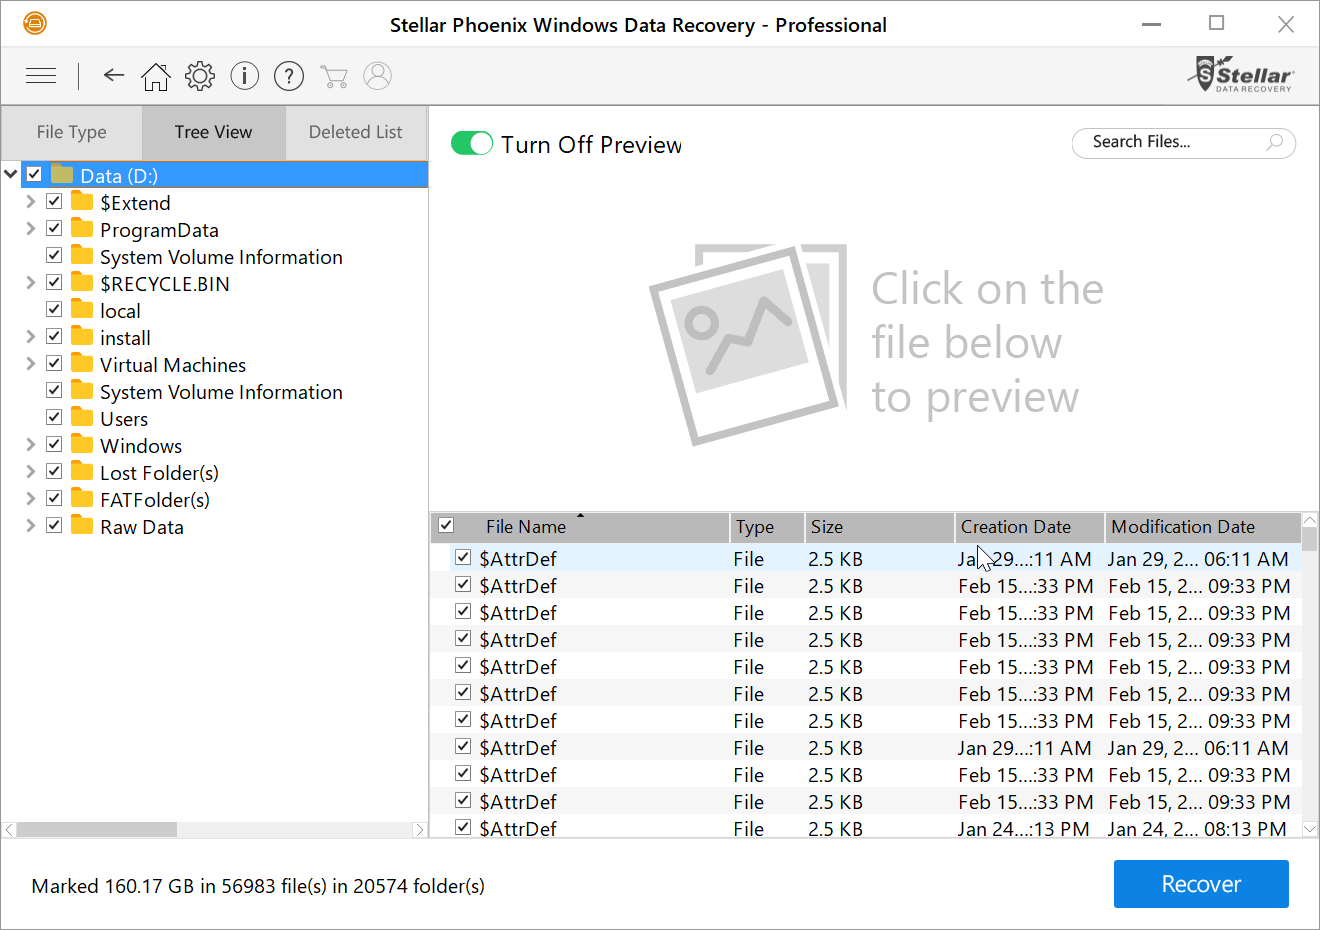
Example of the extensive data recovered using the Deep Scan mode.
I’m impressed with the speed of this tool and the amount of lost data it is capable of recovering. The one con I found with this tool is that it crashed when a new scan for a new location was performed while the software was previously opened after a previous scan. It could very well be my system as I was able to launch the software and re-run a new scan quickly. Bottom line, this is a “stellar” tool and does what it claims to do. The company provides a ton of information on the software product page including an FAQ and download for trial. They are also quick to respond to inquiries. Give it a try and hope you enjoy it as much as I did.

Follow @Hoorge on Twitter and join Tech Konnect on Facebook and Twitter to stay current on technology related matters.