This post is not to emphasize or promote the use of the local administrator account or provide such level of access to your users. IT Professionals and security experts will tell you that providing local administrator account privileges for end users is risky as it can introduce lots of issues such as ransomware attacks, malware infections, risk of compromised systems, and Pass-the-Hash attacks to name a few.
The local administrator account on a Windows 10 system is disabled by default. If you need to enable it for troubleshooting purposes or for some management tasks, you can do so in 3 ways.
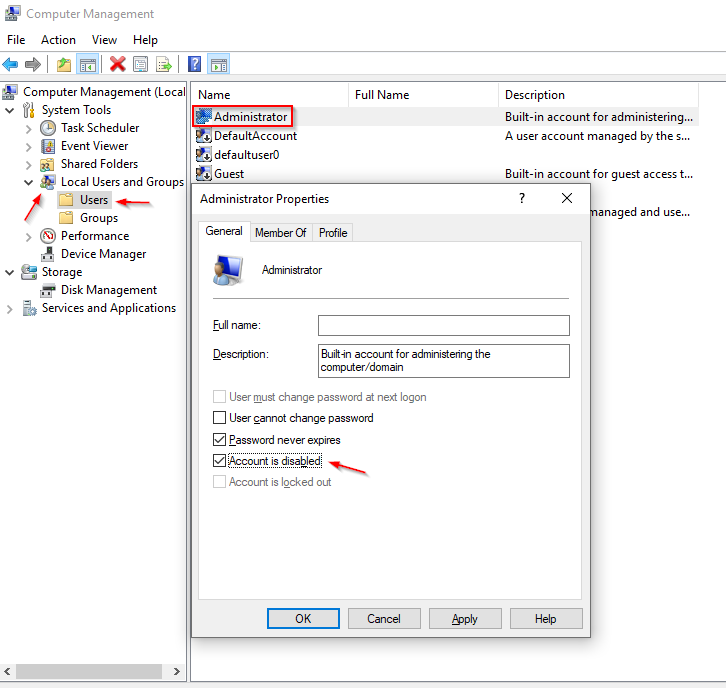
Option 1: Computer Management
- Click Start > search for Computer Management
- Expand Local Users and Groups
- Expand Users
- Right-click on Administrator account
- Uncheck Account is disabled box > click Apply and OK
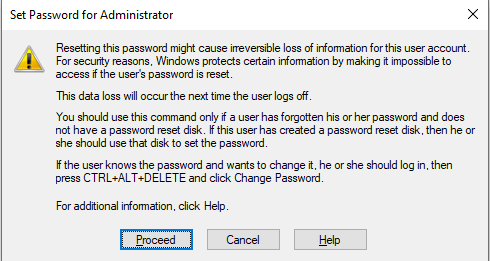
- Right-click Administrator account
- Click on Set Password

- Click on Proceed
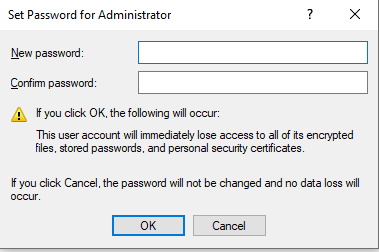
- Enter new password as desired
- Confirm password > click OK
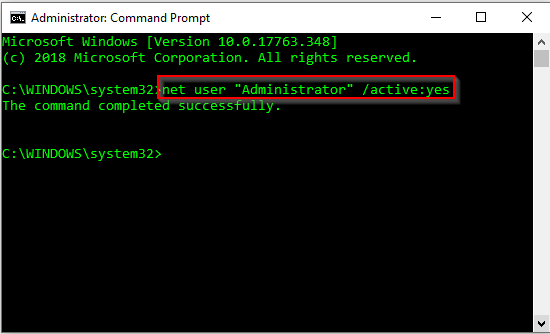
Option 2: Command Prompt
- Click on Start > search for Command Prompt
- Right-click and Run as Administrator
- Type the following command and press enter:
net user “Administrator” /active:yes
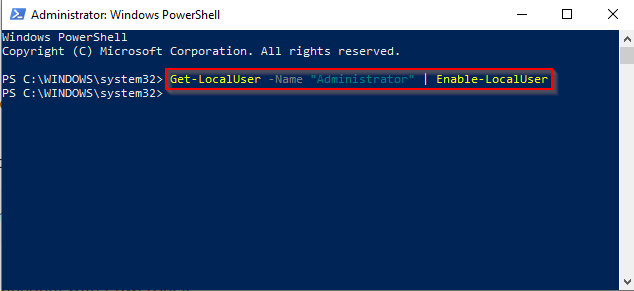
Option 3: PowerShell
- Click on Start > search for PowerShell
- Right-click and Run as Administrator
- Type the following command and press enter:
Get-LocalUser -Name “Administrator” | Enable-LocalUser
To disable the local Administrator account:
Get-LocalUser -Name “Administrator” | Disable-LocalUser