I recently discovered this website, WhatIsMyTenantID.com which provides a quick and easy way to find your Microsoft Azure Tenant ID information. It’s very simple to use. Visit the website, type your domain name, and click “Find my tenant ID” to obtain the results.
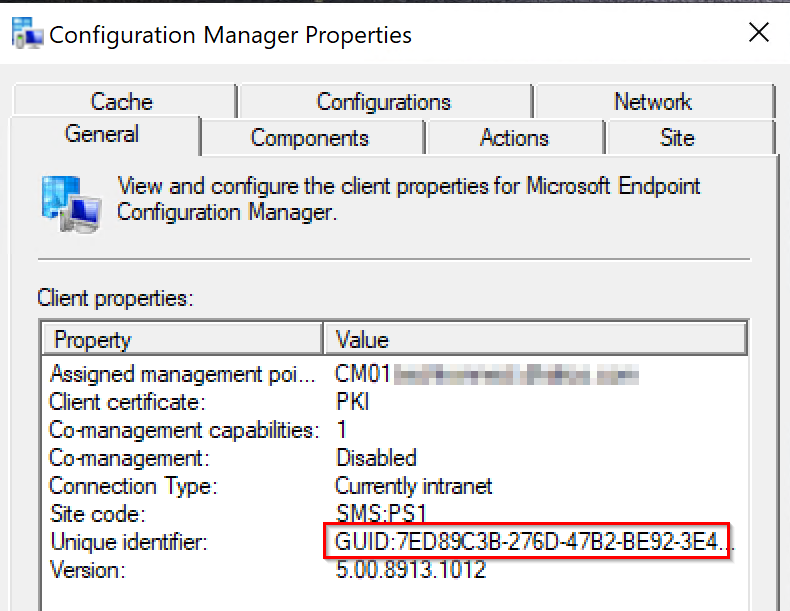
The installation of the ConfigMgr client on workstations and servers is pretty straight forward, and can be done manually, with Client Push, and Software Update Based client installation to name a few. However, it is not as simple when dealing with Windows VDI systems, where extra steps need to be taken to avoid duplicate ConfigMgr client GUIDs and certificates on cloned VDI systems. Below are the steps to follow.
On the master or template system:
Install the ConfigMgr client. Ensure it is properly functioning and has all the necessary components and actions.
Stop the SMS Host Service. This can be done by launching the Command Prompt (CMD) as Administrator and running the following command: net stop ccmexec
Delete the SMSCFG.ini file from the Windows folder location. In Administrator CMD, run the following command: del %WINDIR%\SMSCFG.ini
Delete the SMS Certificates. To do this, launch PowerShell as Administrator and run the following command: Remove-Item -Path HKLM:\Software\Microsoft\SystemCertificates\SMS\Certificates\* -Force
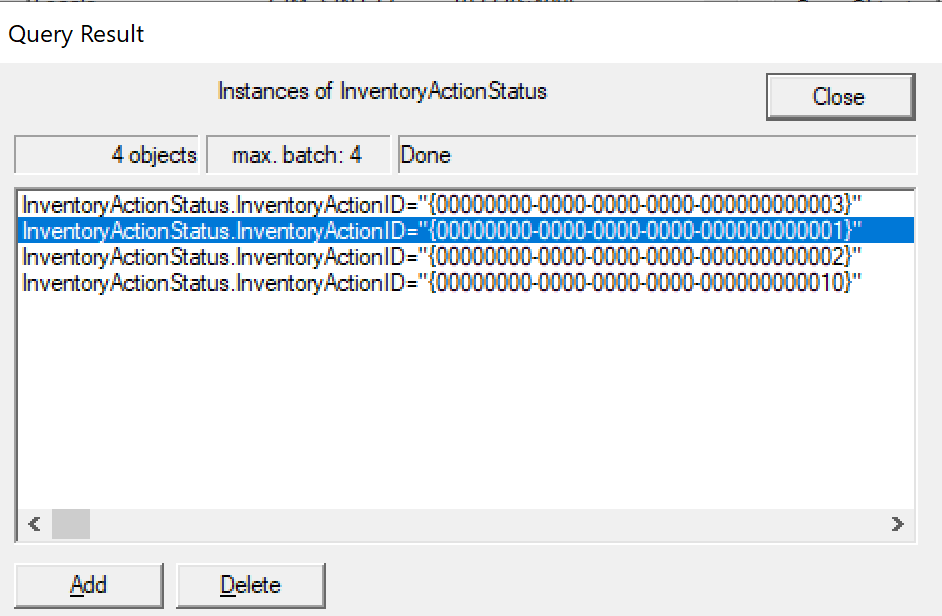
Remove the Inventory Action ID 1 in WMI. You can run the following command: wmic /namespace:\root\ccm\invagt path inventoryActionStatus where InventoryActionID=”{00000000-0000-0000-0000-000000000001}” DELETE /NOINTERACTIVE
Once the above steps have been completed, shutdown the master template, capture a snapshot, and provision the VDI systems. At this point, each VDI system will generate a unique ConfigMgr GUID and will function as expected.
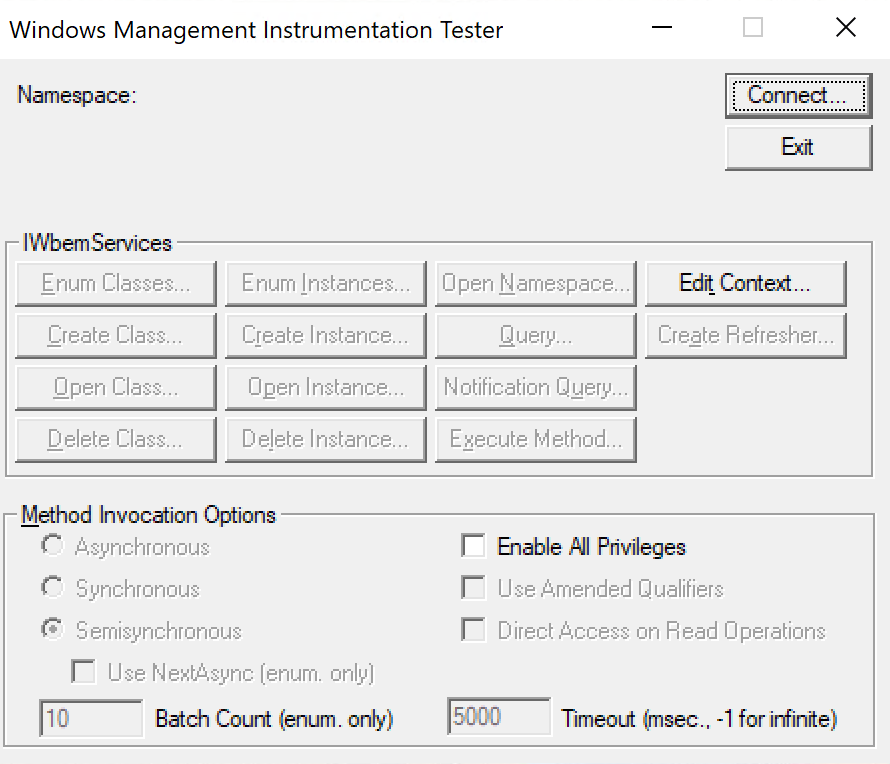
For step number 5, this can be achieved by using the wbemtest tool with the following steps:
Launch wbemtest as Administrator
Click Connect
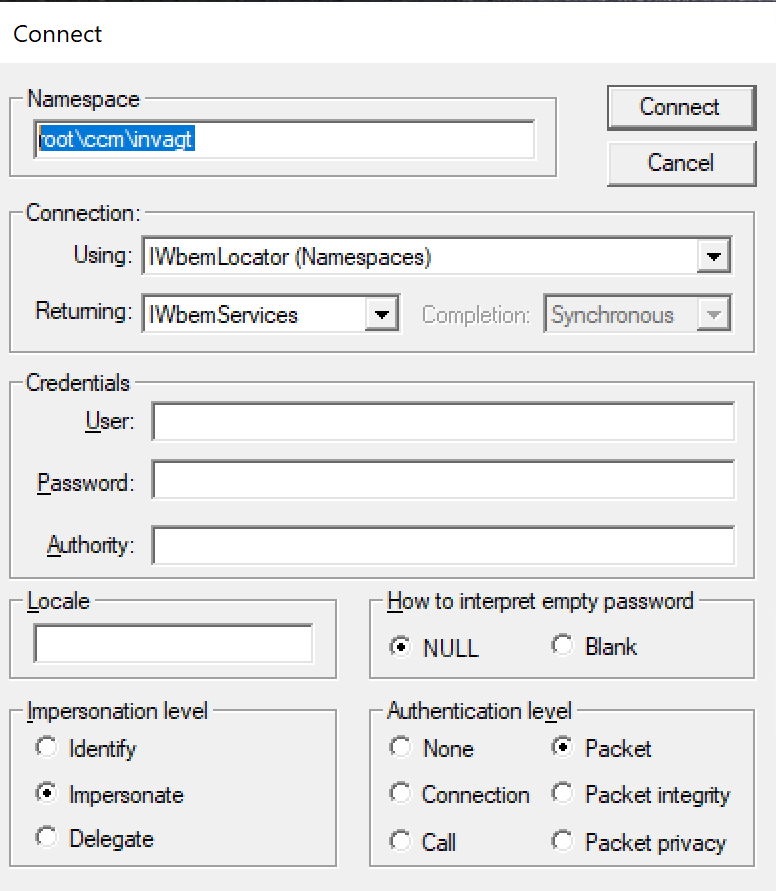
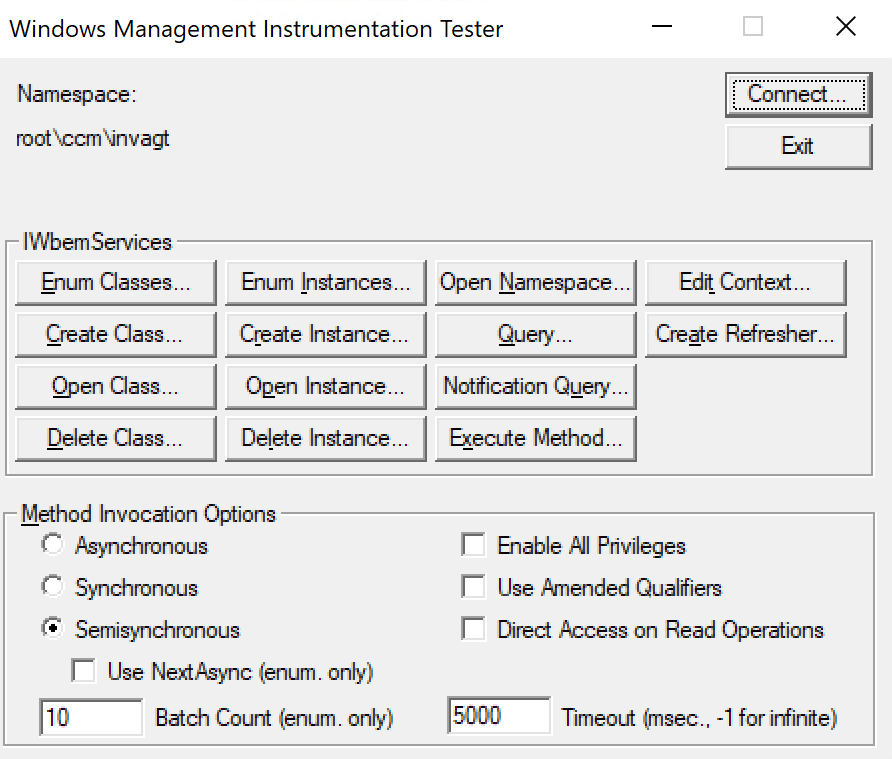
Change the Namespace field as root\ccm\invagt, and click Connect
Click on Enum Classes
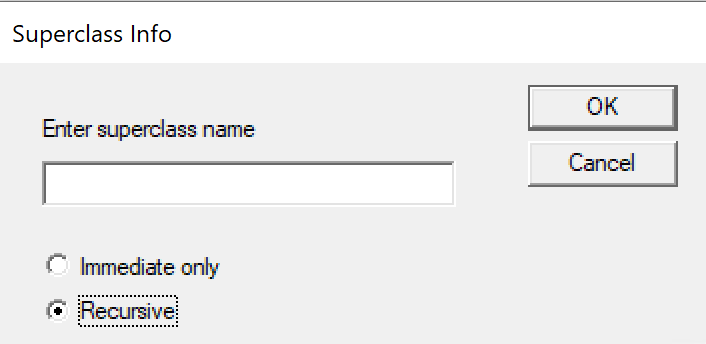
Select Recursive and click Ok
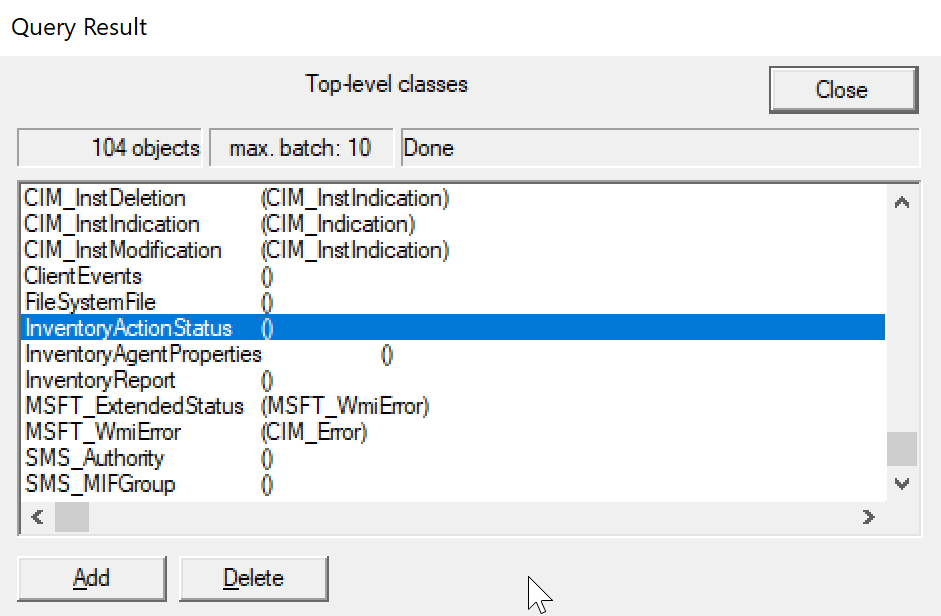
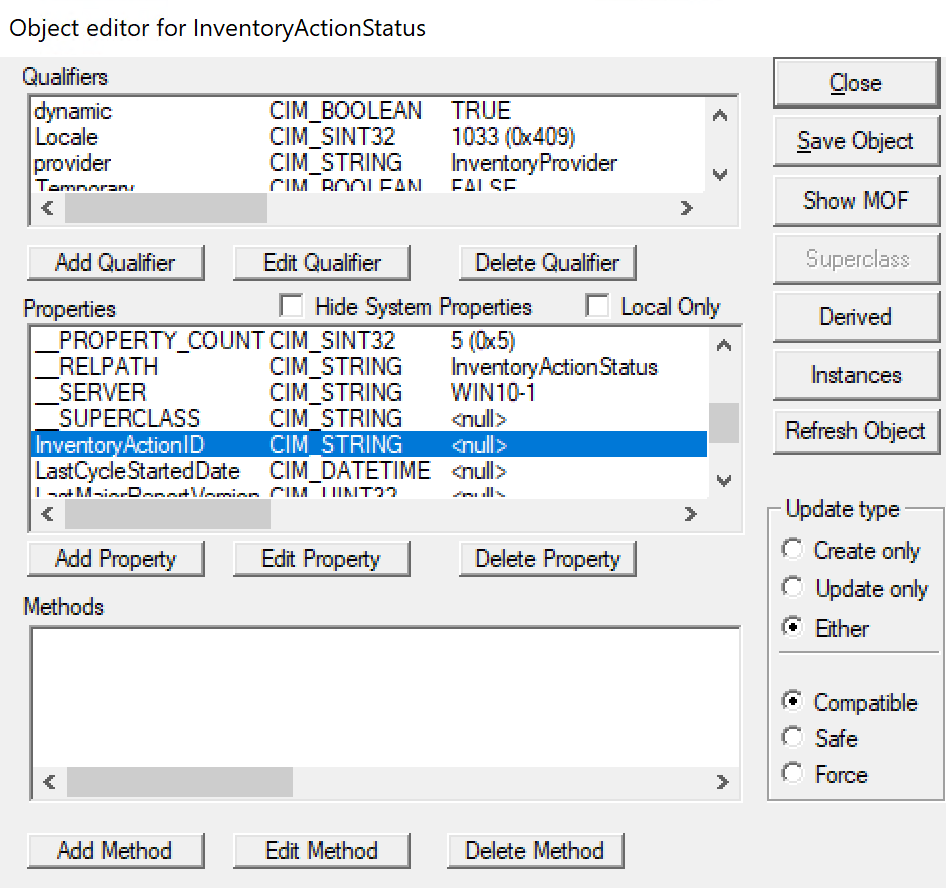
Scroll down and locate InventoryActionStatus, and double click
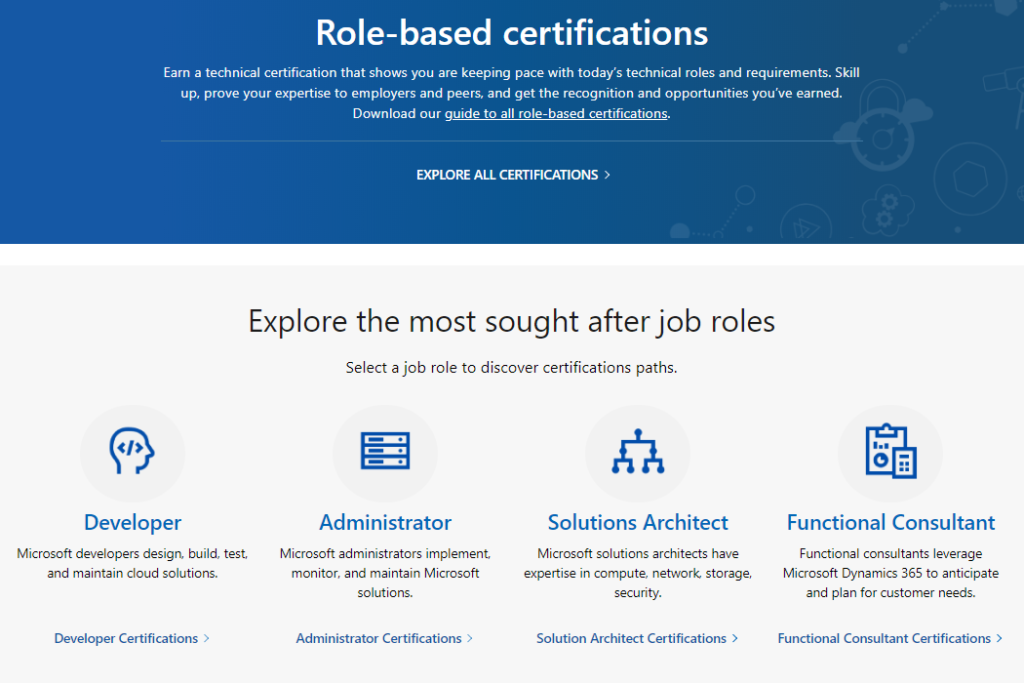
Microsoft Ignite 2019 Conference is taking place in Orlando, Florida from November 4-8, 2019. There’s some great news for everyone who will be attending the conference. Microsoft is offering free certification exams at the convention center during the conference, and these exams range from $99 to $165 each. Please note the free exams are for the Role-based certifications only (MS-xxx, AZ-xxx, MD-xxx, MB-xxx) such as Microsoft Azure and Microsoft 365. Sign up in advance to lock in your spot, and get certified! Below are the steps to do so:
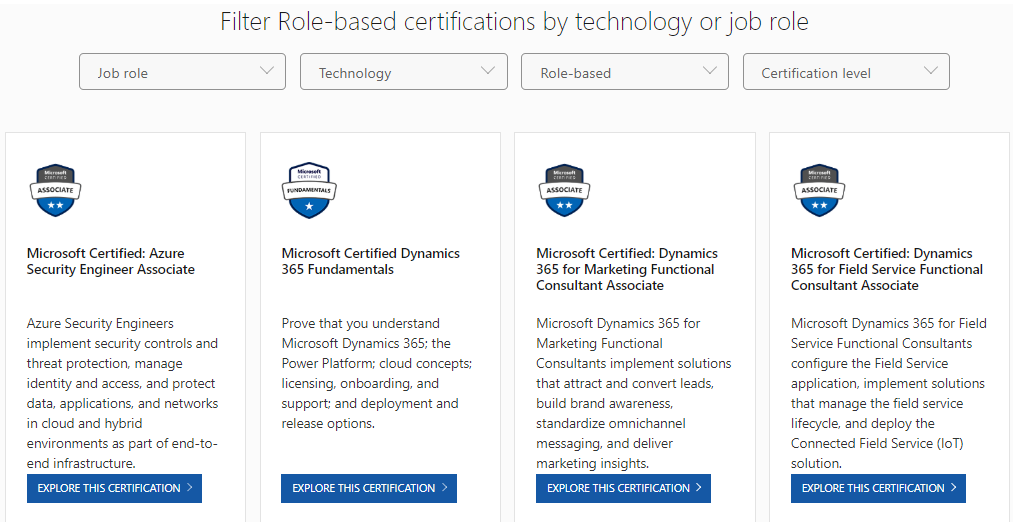
Go to this landing page or here with the list of Role-based certifications available.
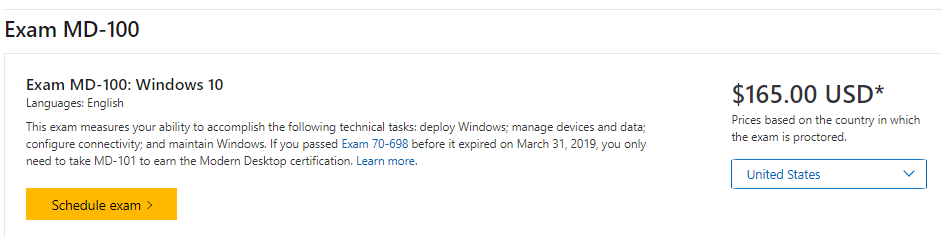
Select your preferred certification and click on Schedule exam
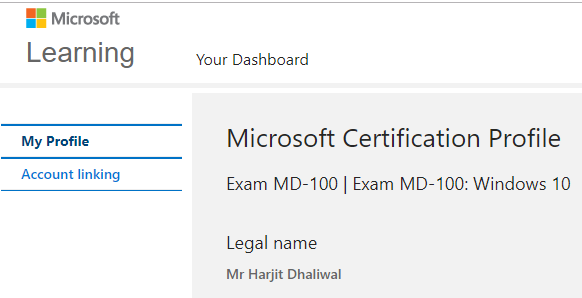
Fill out your profile information. Make sure your name matches your legal IDs which will be required to sit for the exams
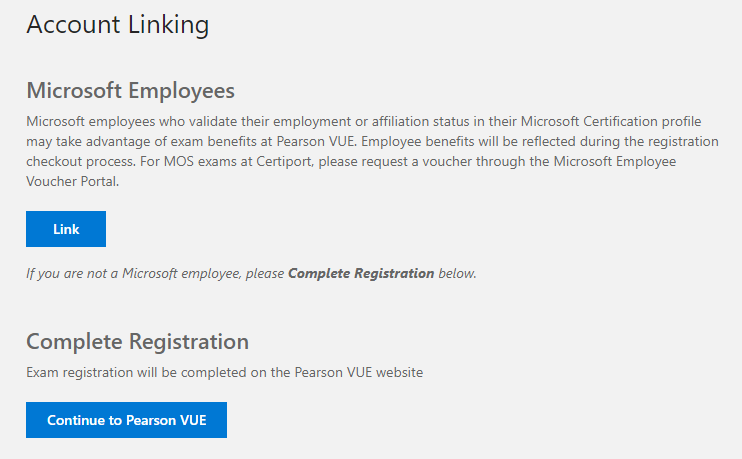
Select “Continue To Pearson Vue”
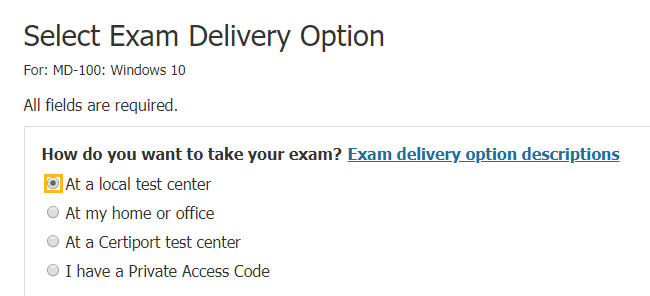
On the Select Exam Delivery Option page, choose “At a local test center”
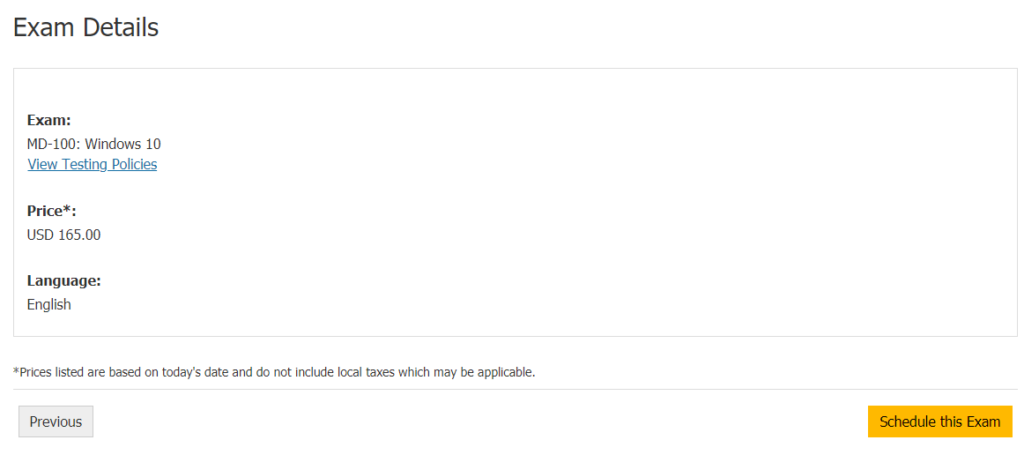
Click on Schedule this exam
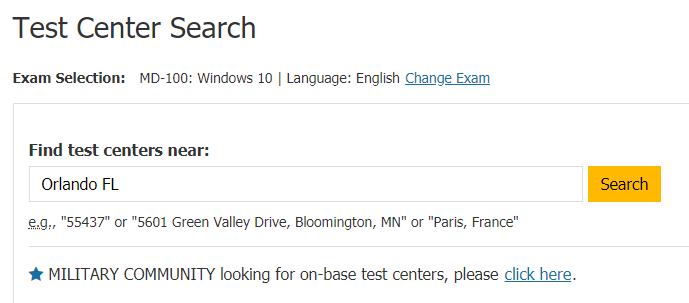
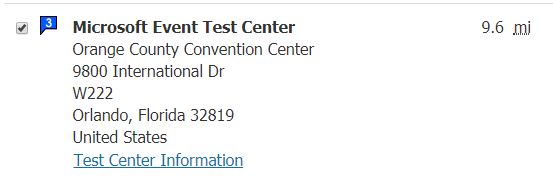
On the Test Center Search page, type “Orlando, FL” and click search. Choose option 3 from the search results for “Microsoft Event Test Center, Orange County Convention Center”, and click next
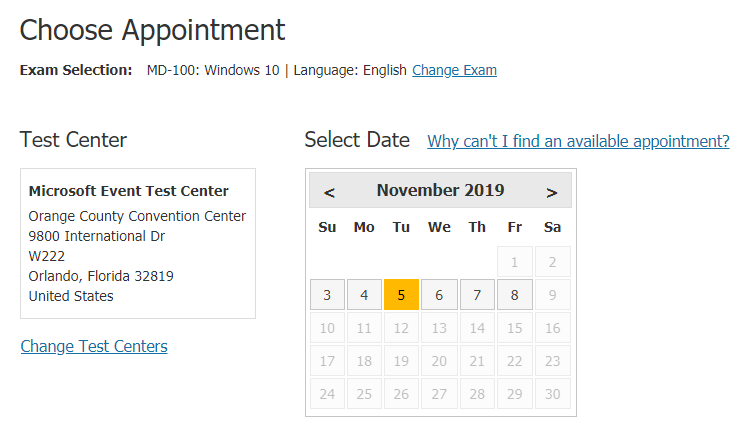
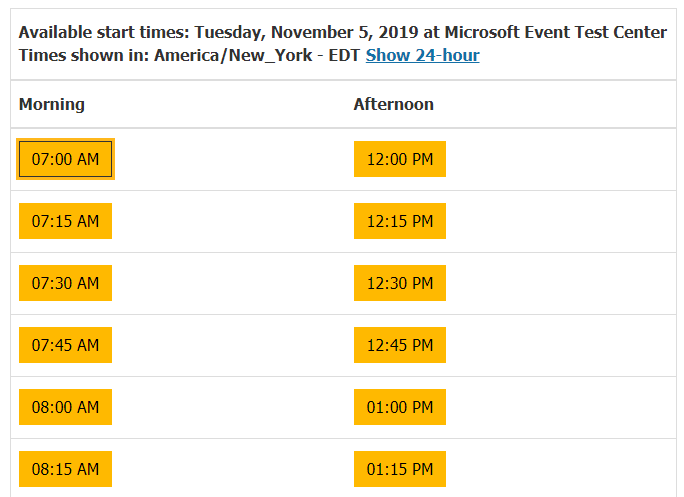
On the Choose Appointment page, change the month to November and pick a date which you prefer to sit for the exam. You will be given a selection of times to choose from. Pick one.
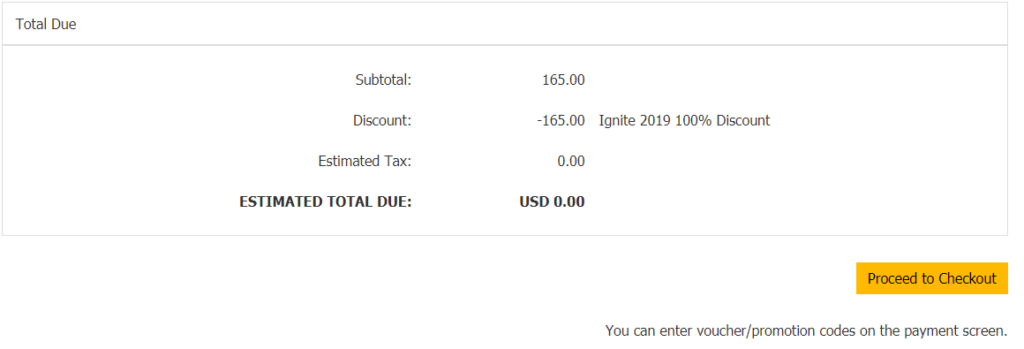
Click on Proceed to Checkout, and confirm your personal information on the following page and click Next
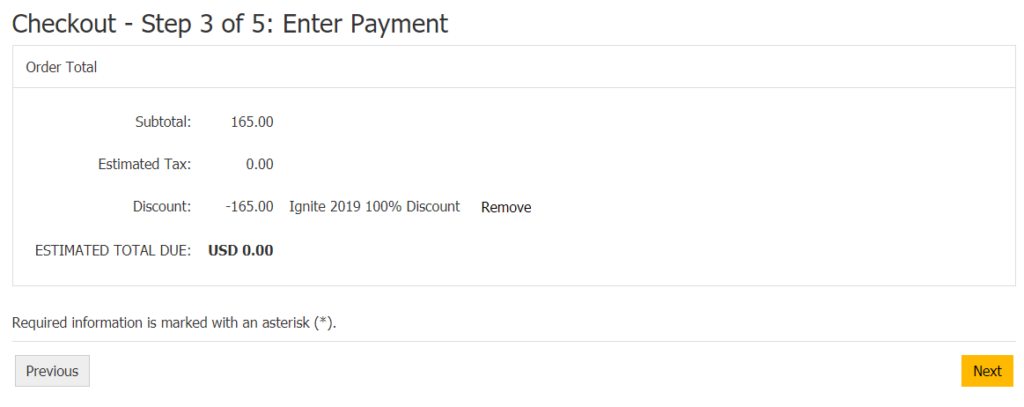
Agree to the terms and conditions and click Next
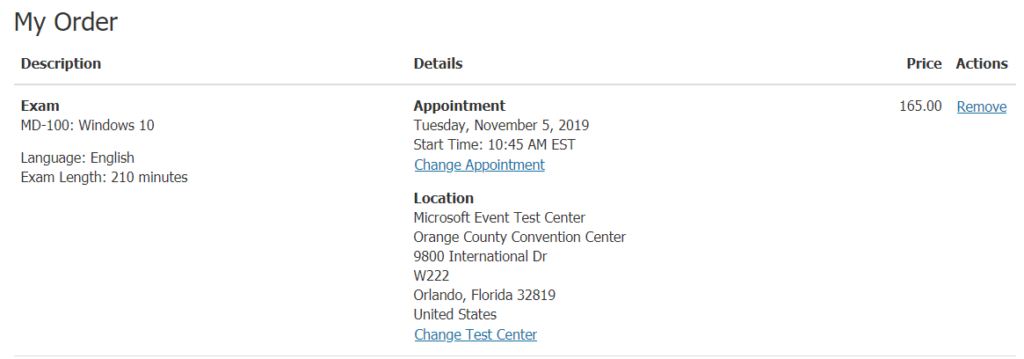
Confirm the payment information which would be USD$0.00
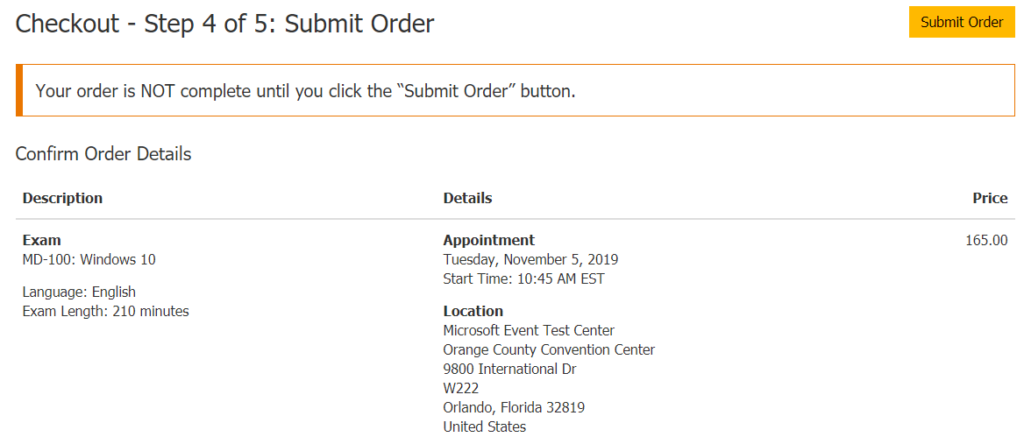
Click Submit Order to confirm
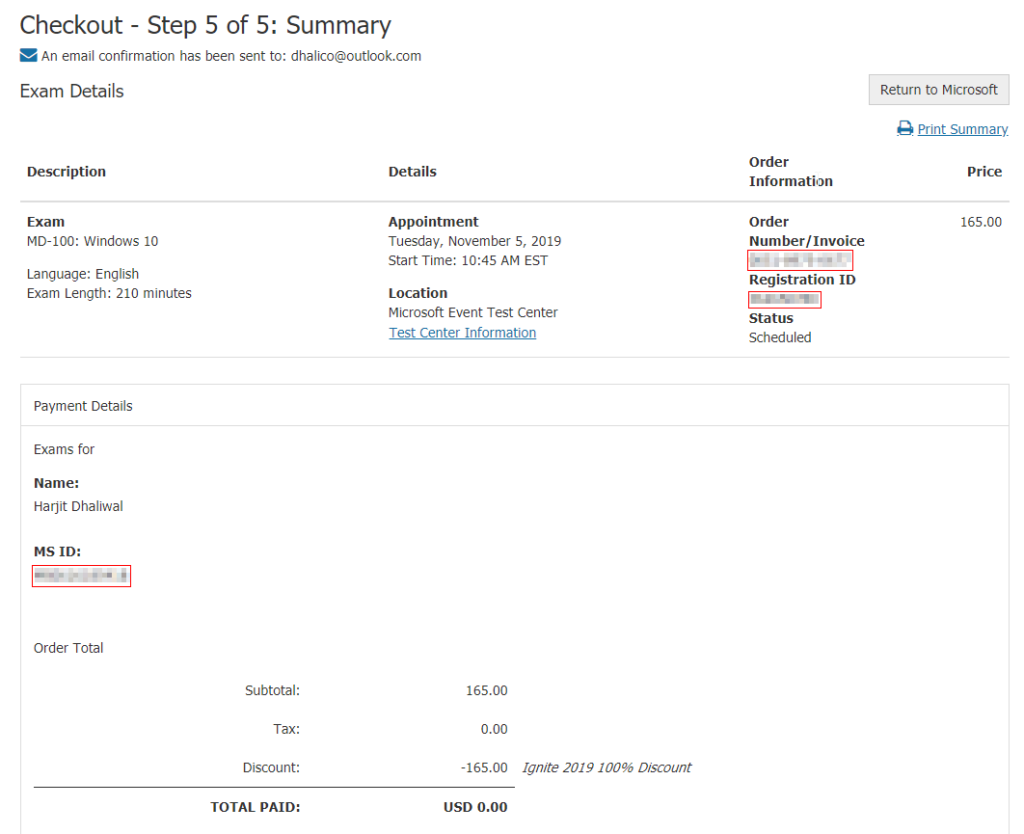
And Voila, your free Microsoft certification exam confirmation
My friend Vlad Catrinescu has has usual study guides to help you study for a few of the role-based exams. See below:
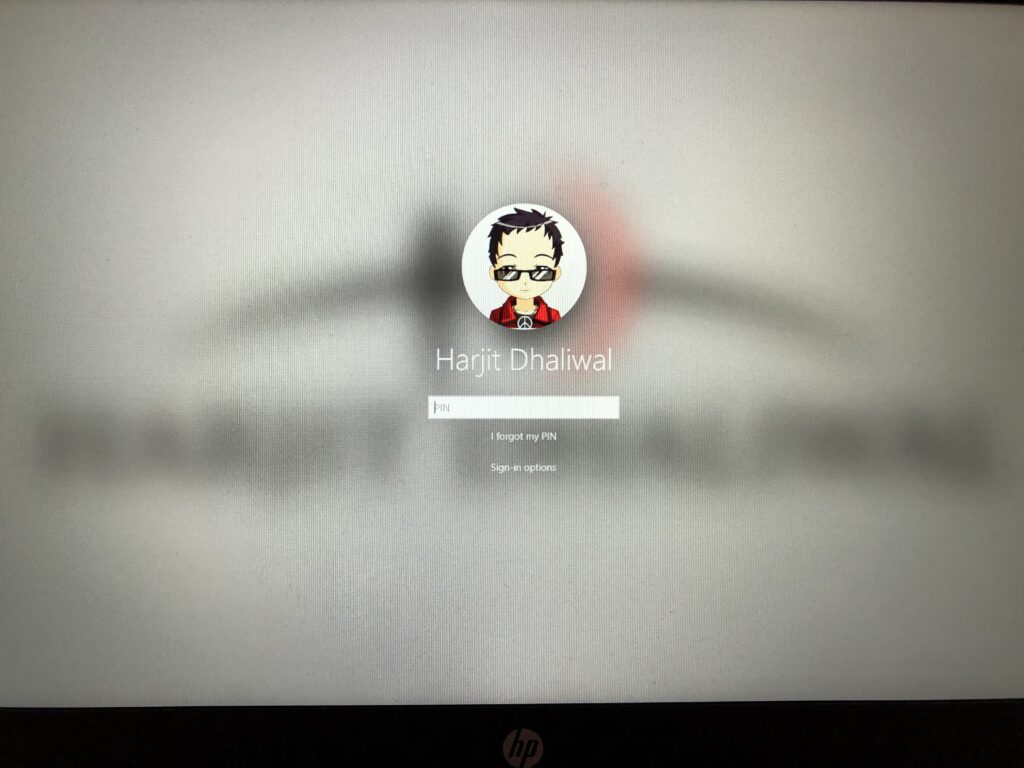
Starting with Windows 10 “19H1” or build 18237, you have likely encountered a blurred background on the login screen. Some users like this feature and some don’t. If you’d like to change the blurred effect to a clear image, then you can do it in two ways: 1. Group Policy or Local Policy 2. Registry setting
Change using Group Policy or Local Policy:
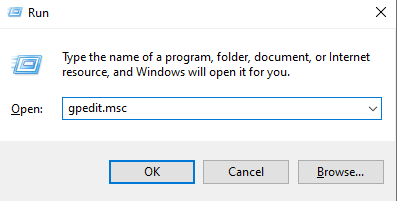
Launch the Group Policy Editor > gpedit.msc
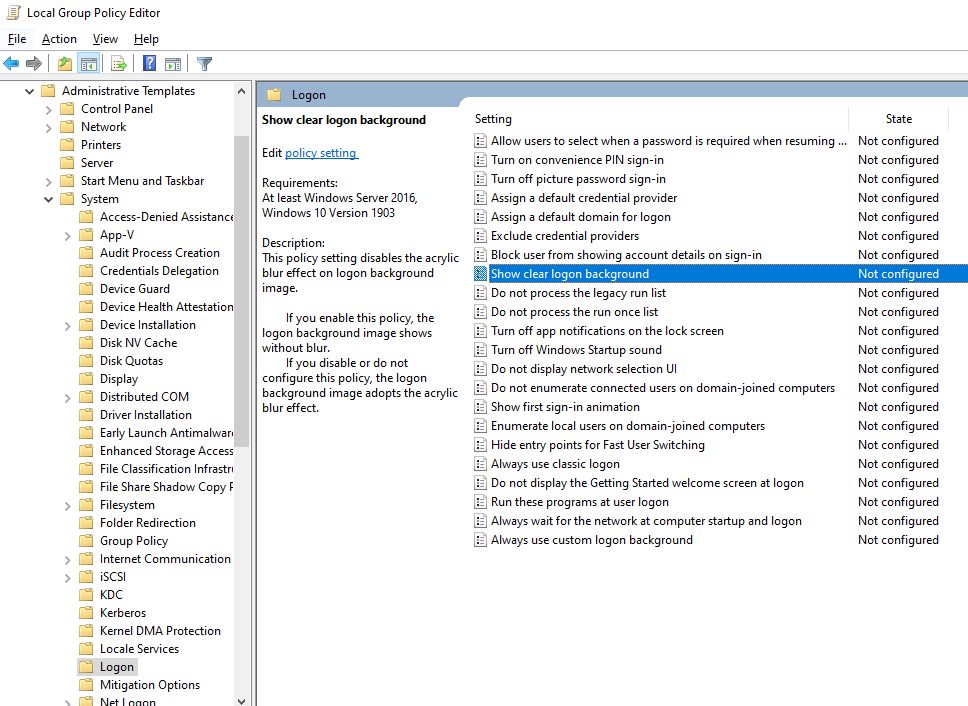
In Group Policy Editor, go to: Computer Configuration\Administrative Templates\System\Logon
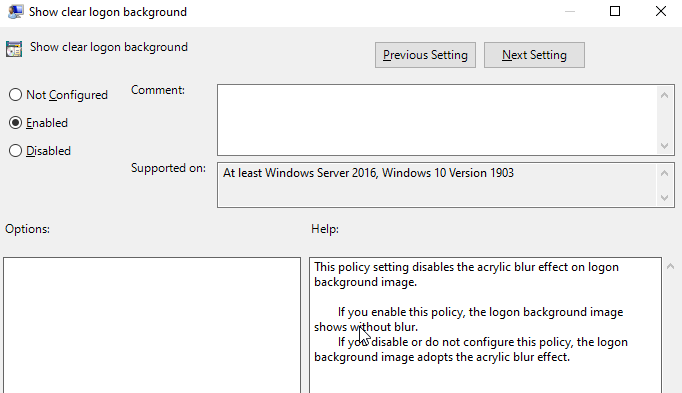
Enable the policy option: Show clear logon background
Restart the computer for good measure
Change using Registry setting:
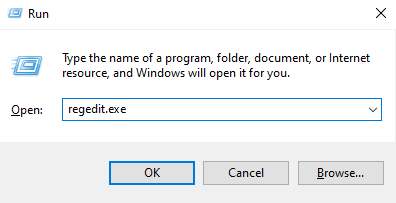
Launch the Registry editor (make sure you backup the registry prior to making any changes) > regedit.exe
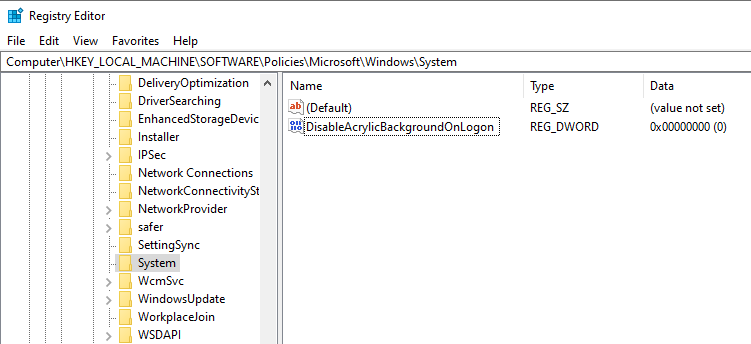
Go to: HKEY_LOCAL_MACHINE\SOFTWARE\Policies\Microsoft\Windows\System
Create a new DWORD (32-bit) value: DisableAcrylicBackgroundOnLogon
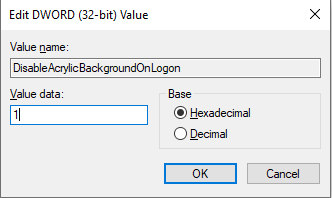
Set the Value data to 1 to disable the blur effect on the login screen
Restart the computer
Now, you should have a clear login screen background.
Bulb Mode is a shutter speed option which can be used in Manual setting to capture subjects in long exposures such as fireworks, trailing lights, night sky, light painting, and other creative photo captures. In general, DSLR cameras limit shutter speed captures to a maximum of 30 seconds which can be limiting or too much depending on what subject is being captured. Using Bulb Mode, a photographer has the ability to control how long the shutter needs to stay open by pressing down on the shutter and then releasing for the desired exposure required for a particular shot.
On my Nikon DSLR cameras such as the D700, the Bulb option was straight forward to find under the Manual setting and scrolling the wheel for the shutter speed until the screen displayed “BULB”. On my Sony A6500 camera, I had difficulty locating Bulb Mode, with the maximum option of only 30 seconds available. I then realized that I had to change a few other settings which I had configured from the factory settings in order to activate Bulb mode.
If you are using the following settings below, you will not be able to set the shuttle speed to Bulb mode. In this case, the shutter speed will be limited to 30 seconds.
Smile Shutter
Auto HDR
Picture Effect is set to HDR Painting or Rich-tone Mono
Multi Frame NR
When Drive Mode is set to the following:
Cont. Shooting
Self-timer (Cont)
Cont. Bracket
Silent Shooting
Once you have reset the above settings, follow these steps to use Bulb mode on your Sony A6500 camera:
Set the mode dial to M (Manual Exposure).
Turn the control wheel counterclockwise until [BULB] is indicated.
Set the aperture value (F-value) by turning the control dial.
Press the shutter button halfway down to focus.
Press and hold the shutter button for the duration of the shot. The shutter will remain open as long as the shutter button is pressed.
This post is not to emphasize or promote the use of the local administrator account or provide such level of access to your users. IT Professionals and security experts will tell you that providing local administrator account privileges for end users is risky as it can introduce lots of issues such as ransomware attacks, malware infections, risk of compromised systems, and Pass-the-Hash attacks to name a few.
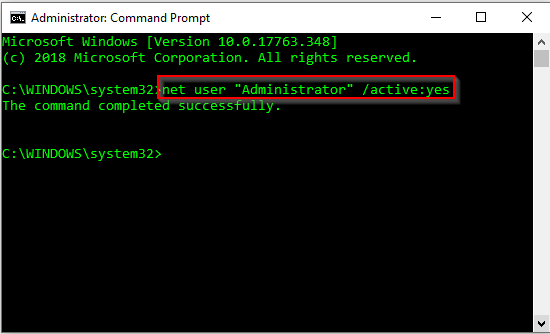
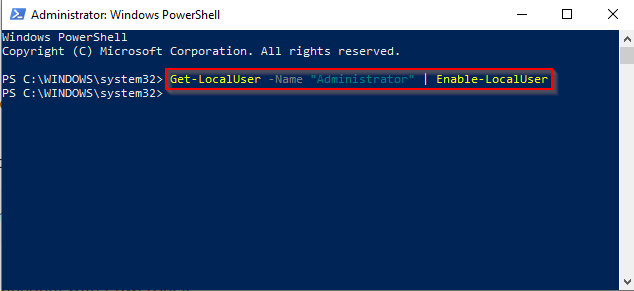
The local administrator account on a Windows 10 system is disabled by default. If you need to enable it for troubleshooting purposes or for some management tasks, you can do so in 3 ways.
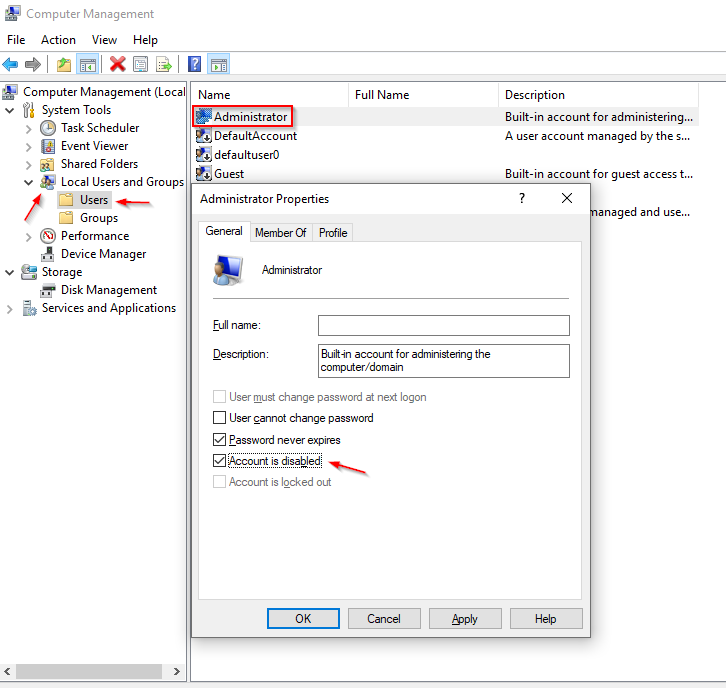
Option 1: Computer Management
Click Start > search for Computer Management
Expand Local Users and Groups
Expand Users
Right-click on Administrator account
Uncheck Account is disabled box > click Apply and OK
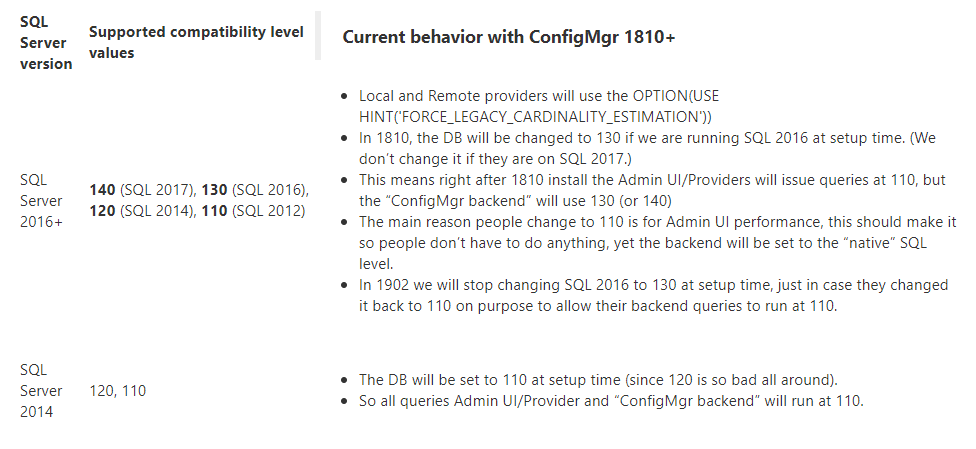
What is Cardinality Estimation or SQL CE Level? The Cardinality Estimator is a SQL Server Query Processor component that is responsible for predicting the number of rows that the query will return. Microsoft provides some great documentation about SQL CE which you can read more on Microsoft Docs.